These streaks can be surge marks from overly vigorous agitation, bromide drag, or a combination of the two.
Bromide Drag: Diagnosing Vertical Banding in 120 Film Development
If you’ve ever pulled a roll of 120 film from your development tank only to find mysterious vertical streaks running through your highlights, you’ve encountered one of the most common—and most frustrating—issues in home film processing: bromide drag.
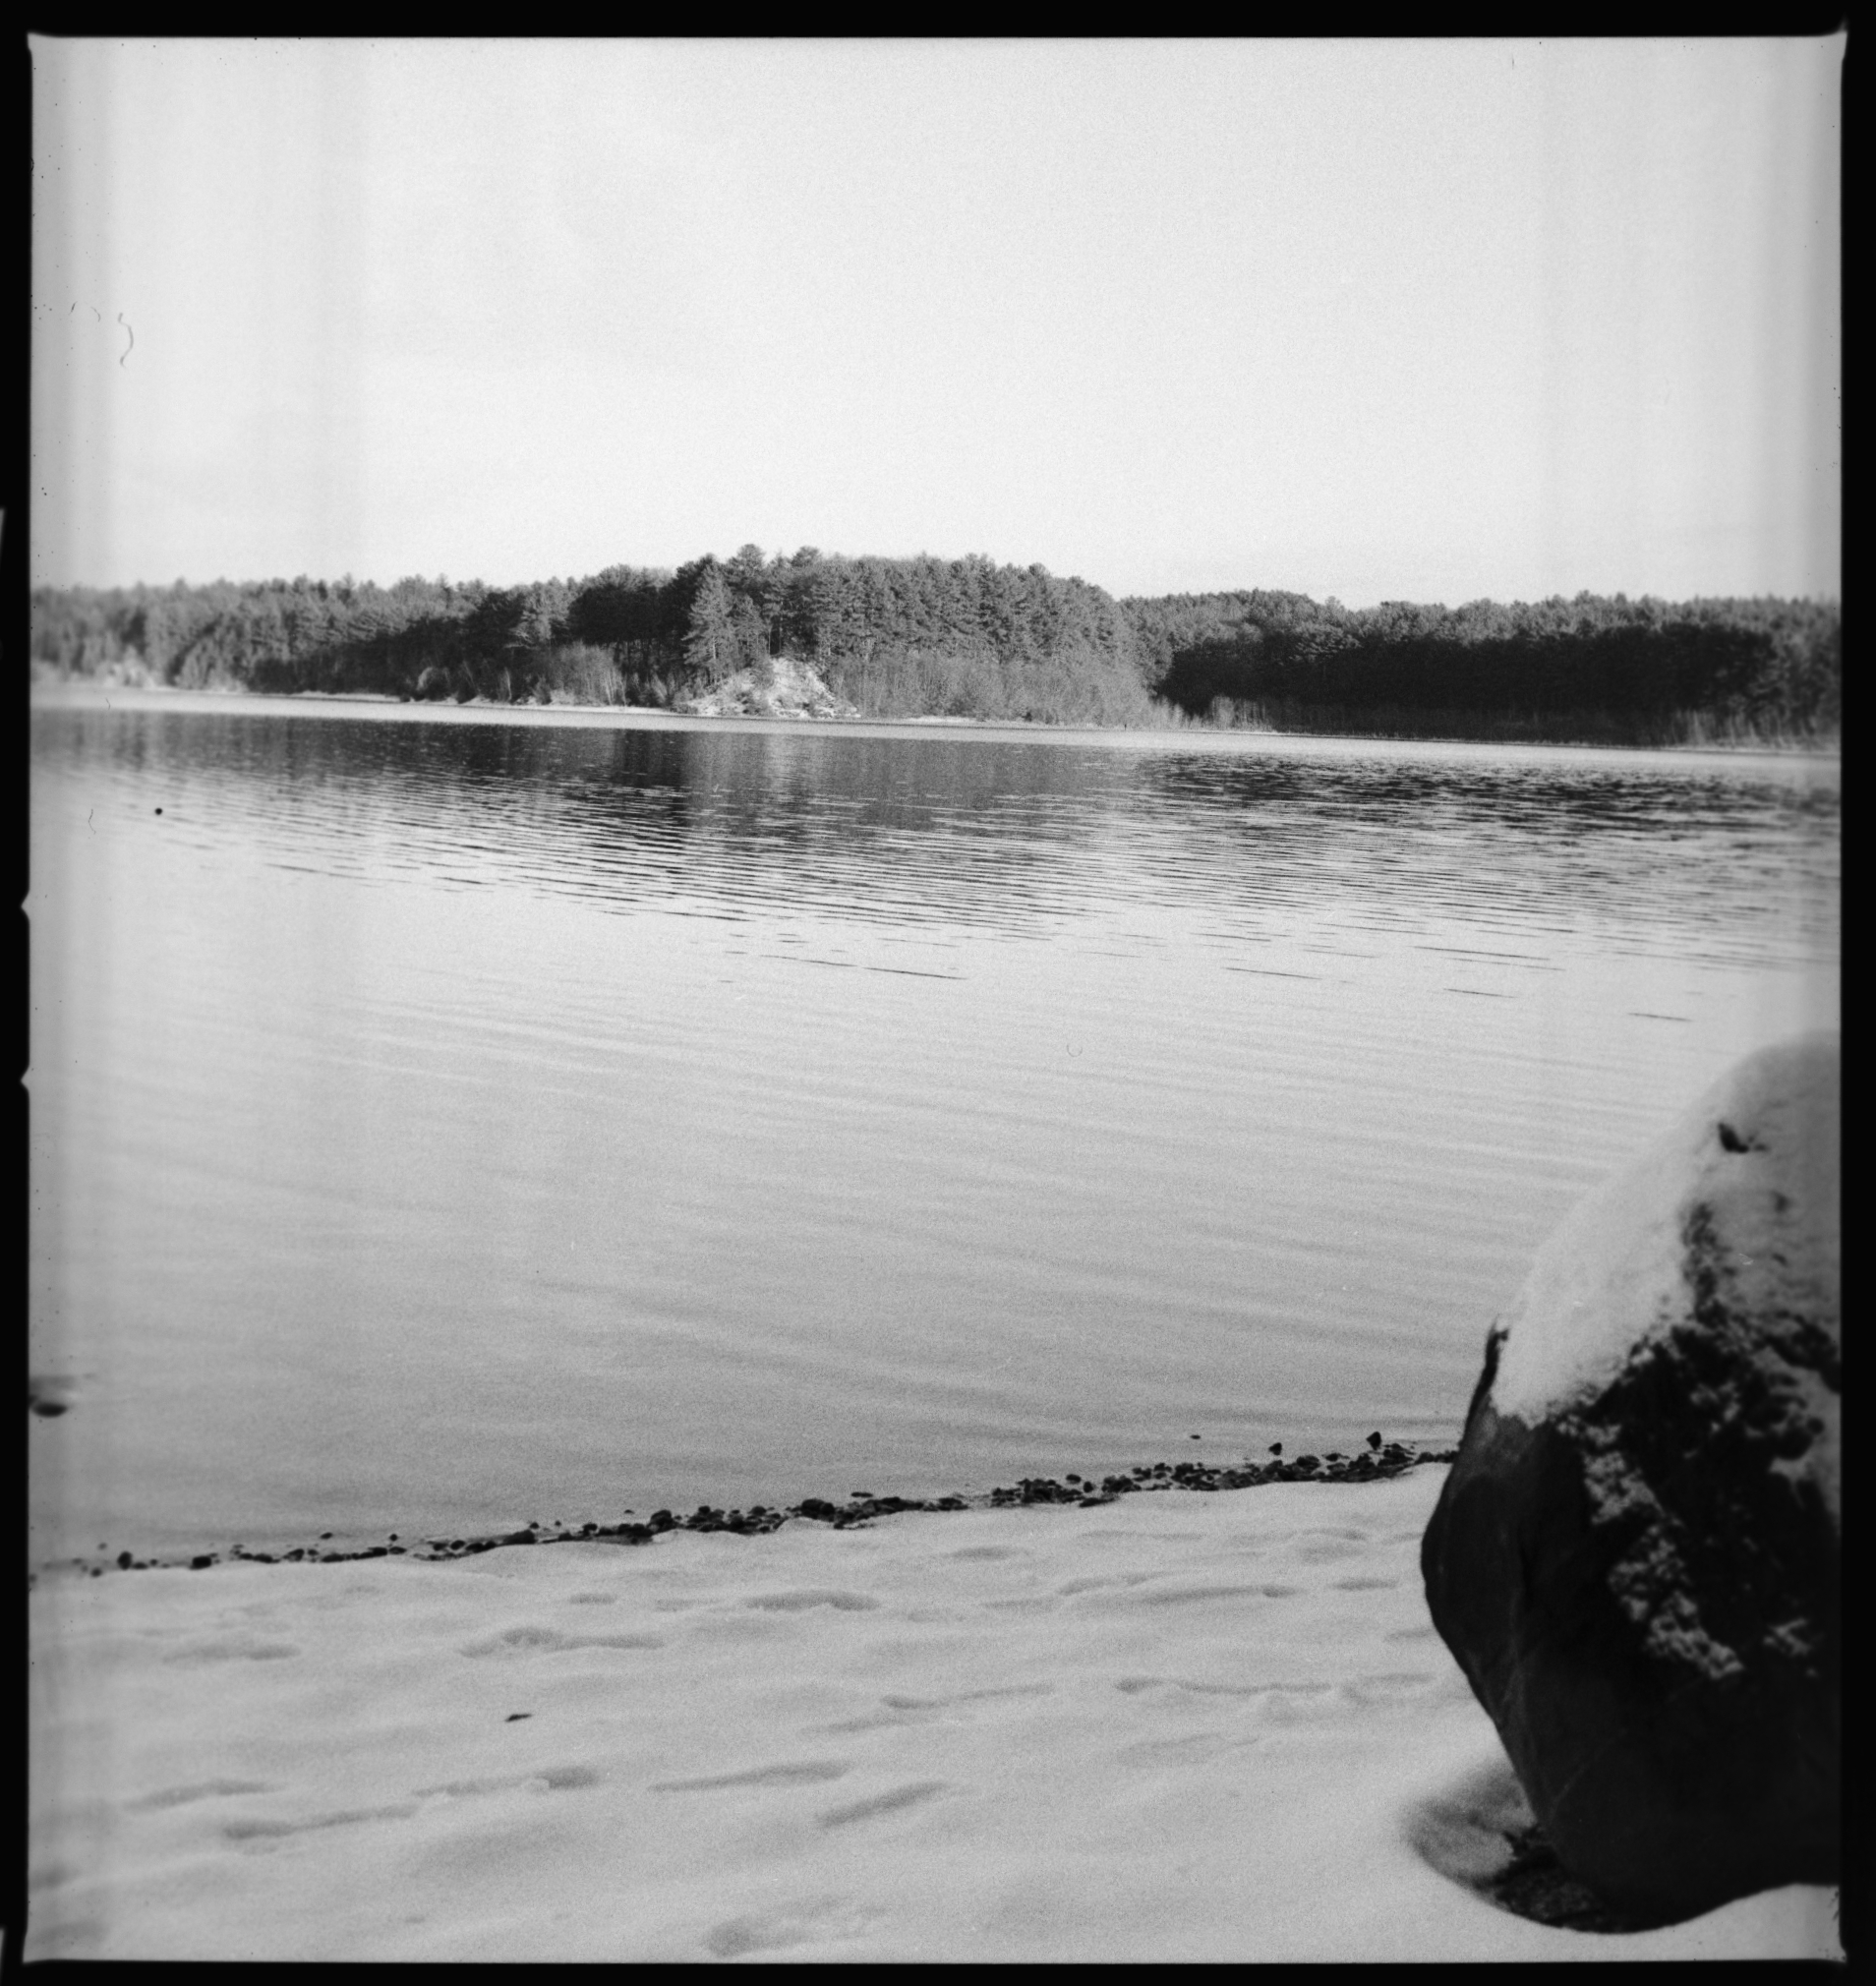
Vertical banding visible in the sky—a classic example of bromide drag. I took this image at Wachusett Reservoir. The film is HP5. ISO 400. Shot on the Hasselblad 500cm with Zeiss 80mm f2.8.
What Is Bromide Drag?
During development, silver halide crystals in the emulsion are reduced to metallic silver. This chemical reaction releases bromide ions as a byproduct. In areas of high exposure (your highlights), this reaction happens rapidly, producing a localized concentration of bromide-rich, exhausted developer.
If this exhausted developer isn’t adequately dispersed through agitation, it “drags” across adjacent areas of the film—typically downward due to gravity and the vertical orientation of film on a reel. The bromide-laden solution acts as a mild restrainer, slightly reducing development in the areas it flows across. The result is uneven density that appears as vertical streaks or bands. I used a Paterson tank to develop the photo above. I thought I could get away with only using the stirring rod. I guess that wasn’t the case.
Why 120 Film Is Particularly Susceptible
Medium format film presents unique challenges that make bromide drag more likely than with 35mm:
- Larger frame area: A 6×6 or 6×7 frame has significantly more surface area than a 35mm frame, meaning more developer exhaustion products are generated in highlight regions.
- Film orientation on the reel: The way 120 film wraps around a spiral creates vertical channels where exhausted developer can settle.
- Developer volume ratios: 120 film requires more developer per roll, and if you’re working with minimum volumes, the margin for error shrinks.
- Uniform sky areas: Landscape and architectural photography on medium format often includes large, even-toned areas like skies—exactly where bromide drag becomes most visible.
Identifying Bromide Drag in Your Negatives
Bromide drag has distinctive characteristics that differentiate it from other development issues:
The streaks run vertically along the length of the film (parallel to the direction the film travels through the camera). They’re most visible in areas of uniform tone—particularly highlight areas like skies or evenly lit walls. The banding typically has soft, diffuse edges rather than sharp lines. And critically, the pattern tends to be consistent across multiple frames on the same roll, since the agitation problem affected the entire development session.
In the example image above, notice how the streaks are most pronounced in the bright sky area while the more textured regions (trees, water, snow) mask the effect. This is textbook bromide drag.
How to Prevent Bromide Drag
Improve Your Agitation Technique
Agitation is the single most important factor. The goal is to continuously replace exhausted developer at the emulsion surface with fresh solution.
- Use inversions, not twirling: The Paterson twirl stick can create standing wave patterns. Full inversions ensure more thorough mixing.
- Vary your rhythm: Don’t invert at exactly the same cadence every time. Slight randomness prevents repeating flow patterns.
- Include a twist: At the end of each inversion cycle, give the tank a gentle twist to break up any directional flow.
- Tap the tank: A firm tap on the counter after inversions dislodges air bubbles and disrupts settling chemistry.
Pre-Wet Your Film
A one-minute pre-soak with water at development temperature accomplishes two things: it brings the film and tank to the correct temperature, and it pre-wets the emulsion so developer contacts it evenly from the first second. This is especially helpful with 120 film where surge marks from the initial pour can contribute to uneven development.
Use Adequate Developer Volume
Don’t skimp on chemistry. While Paterson tanks have minimum fill lines, consider going above the minimum for 120 film. More developer means more capacity to absorb exhaustion products without localized depletion. For a single roll of 120 in a two-reel Paterson tank, use at least 500ml of working solution.
Increase Agitation Frequency
The classic recommendation of four inversions every 30 seconds is a starting point, not a rule. For 120 film, particularly with high-contrast scenes, consider four inversions every 15-20 seconds for the first few minutes of development, then relaxing to every 30 seconds. More agitation reduces the risk of bromide drag but can increase overall contrast, so adjust your development time accordingly.
Reconsider Stand Development
Stand and semi-stand development techniques are particularly prone to bromide drag because they rely on minimal agitation. If you’re committed to stand development and experiencing streaking, try semi-stand with gentle agitation every 20-30 minutes, or accept that some scenes (particularly those with large uniform highlight areas) may not be suitable for this technique.
Paterson Tank-Specific Tips
If you’re using a Paterson tank (one of the most popular choices for home development), keep these specific considerations in mind:
- Ensure the film is loaded correctly on the reel with no overlapping sections—bunched film creates pockets where chemistry stagnates.
- Check that the center column is properly seated; a loose column can affect how chemistry flows during inversions.
- Consider the two-reel tank even for single rolls—the larger volume of chemistry provides better buffering capacity.
- Avoid using the twirl stick as your primary agitation method; it simply doesn’t move chemistry as effectively as inversions.
Bromide drag is frustrating precisely because it often appears on otherwise well-exposed, well-composed images. But once you understand the mechanism—exhausted developer pooling and dragging across the emulsion—the solutions become intuitive: agitate more thoroughly, agitate more randomly, and give your chemistry room to work.
The good news is that this is one of the most correctable problems in film development. A few adjustments to your agitation routine will eliminate the issue entirely. The vertical banding you see in your highlights today can be completely absent from your next roll. It’s unfortunate because I actually like this photo. That’s the challenge with medium format film photography!
For more info on how development can go wrong, check out my article on Film Developing Issues.
Purchasing gear from the above link helps me keep the site going!