Hard Water Spots on Film Negatives: Causes, Prevention, and Fixes
Few things are more deflating than pulling a freshly developed roll of 120 film from the drying line and discovering a constellation of white spots and mineral deposits scattered across your negatives. You nailed the exposure. You got the development right. And now there are tiny calcium ghosts permanently etched into your emulsion because of what came out of the tap.
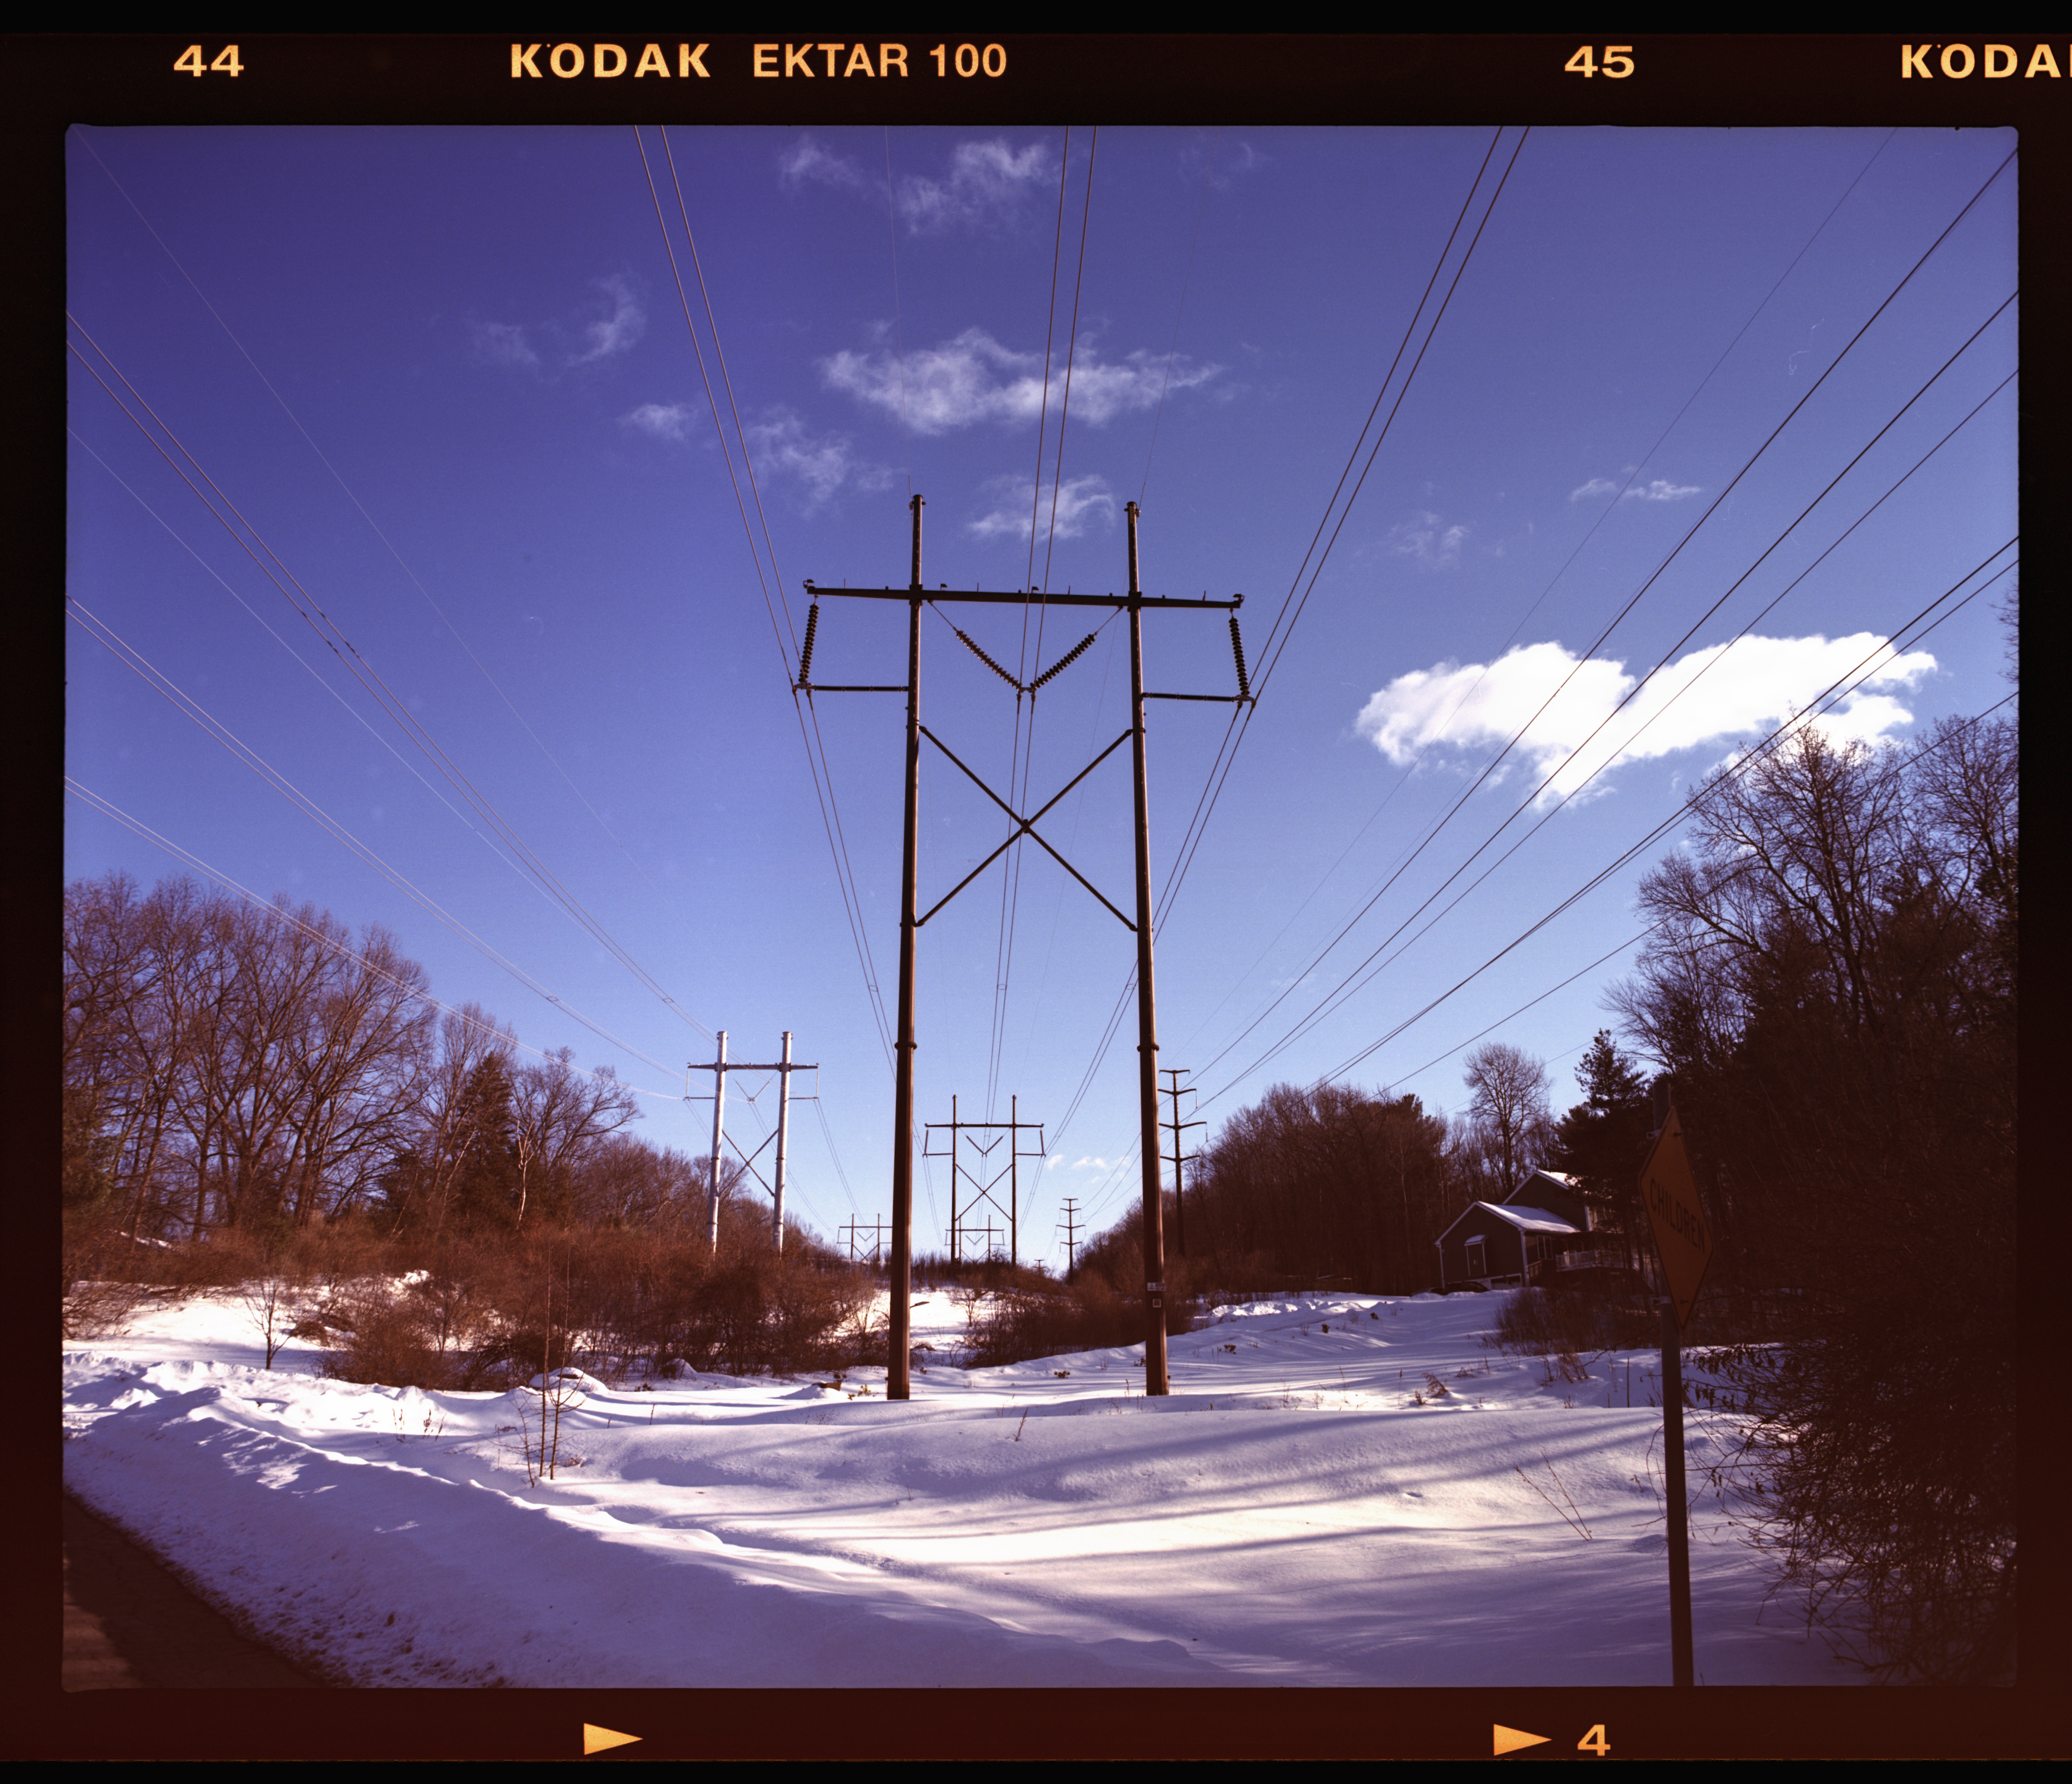
If you click on the image about and look at the sky on the left, you’ll notice the hard water sponts.
Hard water spots are one of the most common darkroom problems, and medium format film is especially unforgiving when they appear. On a 6×7 or 6×6 negative, every blemish gets magnified — whether you’re enlarging optically or scanning. The good news is that this is an entirely preventable problem once you understand what causes it and build a few simple habits into your wash-and-dry routine.
What Hard Water Spots Actually Are
When tap water evaporates from the surface of your film, it doesn’t leave cleanly. Dissolved minerals — primarily calcium carbonate and magnesium — are left behind as solid deposits on the emulsion and base. These deposits appear as small, irregular white or chalky spots, sometimes with a faint ring pattern where the edge of a water droplet dried.
The severity depends entirely on your local water supply. Water hardness is measured in parts per million (ppm) of dissolved calcium carbonate. Water below 60 ppm is considered soft and rarely causes visible problems. Water between 120 and 180 ppm is moderately hard and will leave noticeable deposits. Above 180 ppm, you’re essentially rinsing your film in liquid chalk.
The spots themselves aren’t just cosmetic. On the emulsion side, mineral deposits can bond to the gelatin layer and become extremely difficult to remove without risking damage to the image. On the base side, they’re easier to clean but still show up as dust-like artifacts in scans and prints. Either way, they require time and effort to deal with after the fact — time better spent preventing them in the first place.
Why Medium Format Film Is Particularly Vulnerable
A roll of 35mm film has a relatively narrow strip of emulsion to worry about. A sheet of 4×5 or 8×10 can be handled individually with great care during washing. Medium format 120 film sits in an awkward middle ground — it’s a wide, long strip that must be handled in continuous form, and the large negative area means any water spots that form will be visible in your final image.
The physical format also matters during drying. A strip of 120 film is wider than 35mm and tends to hold larger droplets along its surface. Those larger droplets take longer to evaporate and leave behind proportionally larger mineral deposits. The curl inherent in 120 film can also create channels where water pools along the edges rather than sheeting off evenly.
The Distilled Water Final Rinse
The simplest and most reliable way to prevent hard water spots is to eliminate hard water from the equation entirely. After your final wash, give the film a 30-to-60-second soak in distilled water as the very last step before hanging to dry.
Distilled water has had virtually all dissolved minerals removed through evaporation and condensation. When it evaporates from your film, it leaves nothing behind. A gallon of distilled water costs around a dollar at any grocery store or pharmacy, and a single gallon is enough for many rolls.
The technique is straightforward. Fill a clean container with room-temperature distilled water. After your final wash in tap water, transfer the film to the distilled water bath and gently agitate for 30 seconds to a minute. This displaces the mineral-laden tap water clinging to the emulsion with clean distilled water. Remove the film, attach a clip to the bottom for weight, and hang to dry.
One important detail: make sure the container you use for the distilled rinse is itself clean. A tray or tank that has mineral buildup from previous use will contaminate your distilled water immediately. Dedicate a container to this step and rinse it with distilled water before each use.
Wetting Agents
A wetting agent — the most common being Kodak Photo-Flo, but Ilfotol, LFN, and various generic versions work the same way — is a surfactant that reduces the surface tension of water. Lower surface tension means water sheets off the film in a thin, even layer rather than forming discrete droplets. Fewer droplets means fewer sites where minerals can concentrate as the water evaporates.
Wetting agents are remarkably effective, but they require a light touch. The single most common mistake is using too much. A proper working dilution is extremely weak — Photo-Flo’s recommended dilution is roughly 1:200, which works out to about two or three drops per liter of water. The solution should feel slippery between your fingers but should not produce visible suds or foam. If you see bubbles, you’ve used too much, and excess surfactant will leave its own residue on the film — a different kind of spot, but a spot nonetheless.
The wetting agent bath should be the absolute last thing your film touches before drying. Soak the film for 30 seconds with a couple of gentle inversions. Don’t agitate vigorously — the goal is to coat the film, not create bubbles. Some photographers gently drag the film between two fingers or use a squeegee after the wetting agent bath. Others simply let gravity do the work and allow the film to drip-dry without touching it. Both approaches work, though the hands-off method carries zero risk of scratching the wet, softened emulsion.
Combining Distilled Water and Wetting Agent
For the best results, use both. Your final step should be a bath of distilled water with a small amount of wetting agent mixed in. This gives you the double benefit of mineral-free water and reduced surface tension, virtually guaranteeing a spot-free negative.
The order matters. Your processing sequence should end like this: final tap water wash, then a single bath of distilled water plus wetting agent. Don’t add wetting agent to your tap water wash — it won’t prevent mineral deposits from forming if the water itself is hard. The distilled water removes the minerals. The wetting agent ensures even drying. Together, they solve the problem completely.
Drying Environment and Technique
Even with a perfect final rinse, your drying environment can introduce new problems. Film should dry in a space that is as dust-free and still as possible. Moving air speeds evaporation, which sounds desirable, but it also carries dust that will stick to the wet emulsion. A bathroom with the door closed and the ventilation fan off is a common choice. Some photographers hang film inside a shower stall for exactly this reason — it’s an enclosed space with minimal air movement and a convenient place to let water drip.
Hang the film with a clip at top and bottom. The bottom clip provides weight to keep the film hanging straight, which promotes even drying and prevents the film from curling into itself while wet. 120 film is long enough that it needs a tall space — a doorframe or shower rod typically works.
Temperature matters as well. Room temperature is ideal. Drying in a cold room slows evaporation excessively, increasing the time that dust has to settle on the wet surface. Drying in a hot room or using a hair dryer can cause the emulsion to dry unevenly, potentially creating drying marks that mimic water spots. Patience is your best tool here. A roll of 120 film typically needs 45 minutes to an hour to dry completely in normal room conditions.
Squeegees: Proceed with Extreme Caution
Film squeegees — whether the rubber-blade type or the soft chamois variety — are designed to wipe excess water from the film surface before hanging. In theory, they remove the droplets that cause water spots. In practice, they are one of the most common causes of scratches on wet film.
The emulsion layer of freshly processed film is soft, swollen with water, and extremely vulnerable to physical damage. A squeegee that has picked up a single grain of grit, or one applied with slightly uneven pressure, will drag a scratch across the entire length of your roll. On medium format film, that scratch runs through every frame.
If you do choose to use a squeegee, make sure it is scrupulously clean and wet it in your wetting agent solution before each pass. Use the lightest possible pressure — just enough to maintain contact. Many experienced darkroom workers have abandoned squeegees entirely in favor of the distilled water and wetting agent approach, finding that the risk-to-reward ratio simply isn’t worth it.
A safer alternative is to gently run two clean, wet fingers — freshly rinsed in your wetting agent solution — down the length of the film. Your fingers conform to the film’s surface more naturally than a rigid squeegee, and you can feel any resistance that might indicate a problem. But even this carries some risk with medium format film, where the wider strip provides more opportunity for uneven pressure.
The safest approach of all is simply not to touch the film. A proper wetting agent bath in distilled water makes physical water removal unnecessary. Let the film hang, let gravity pull the water down, and let time do the rest.
What About Filtered Water?
Standard household water filters — Brita pitchers, refrigerator filters, basic faucet-mount units — primarily target chlorine, sediment, and some organic contaminants. They do little to nothing about dissolved minerals. Your filtered water will taste better, but it will leave the same calcium deposits on your film. The ZeroWater pitcher may be an exception to this but I’ve yet to try.
If you want to filter your way to spot-free negatives, you need a system that actually removes dissolved solids. Reverse osmosis (RO) filtration is effective, producing water with very low mineral content. Deionized water is another option, though it can be aggressive to some materials over time. For most photographers, though, buying distilled water by the gallon is simpler and cheaper than installing specialized filtration.
Removing Water Spots After the Fact
If you’re reading this article because you already have water spots on your negatives, the situation isn’t necessarily hopeless — but proceed carefully.
For spots on the base side of the film (the shiny, non-emulsion side), a gentle wipe with a microfiber cloth barely dampened with distilled water or a dedicated film cleaner like PEC-12 will usually lift the mineral deposits. Work slowly and inspect your progress under good light.
For spots on the emulsion side, you’re dealing with a much more delicate surface. Rewashing the film is the safest approach — soak the affected negatives in distilled water with a small amount of wetting agent for a few minutes, then rehang to dry in a clean environment. This will dissolve and remove most mineral deposits without requiring you to physically touch the emulsion. For stubborn spots, PEC-12 applied with a PEC pad using the lightest possible touch can help, but there’s always a risk of marking the emulsion.
The best approach to water spots on the emulsion side is, of course, never letting them form in the first place.
Building a Reliable Routine
The actual effort involved in preventing water spots is minimal once you’ve established a routine. Here’s a practical workflow for the end of your development process:
Complete your final tap water wash as normal. Prepare a clean container with room-temperature distilled water and add the recommended amount of wetting agent — a few drops per liter, no more. Transfer the film to this bath, agitate gently for 30 to 60 seconds, then remove the film and hang it to dry in a still, dust-free space with a weighted clip at the bottom. Don’t touch the film while it dries. Walk away and come back in an hour.
That’s it. A one-dollar gallon of distilled water, a few drops of Photo-Flo, and 60 seconds of your time separates perfect negatives from a frustrating afternoon spent trying to spot-heal mineral deposits out of your scans. When you’re shooting medium format — where every frame counts and every negative represents a deliberate composition — that small investment in your wash routine pays for itself many times over.
Purchasing gear from the above link helps me keep the site going!